A flexible bean batch is a bridge between pantry food and seasonal produce.
Start with a quiet pot
Rinse dried beans, cover them generously with water, and give them enough room to swell. A slow simmer is more useful than a hard boil. Keep the pot at a pace that leaves the skins intact, checking the water level as the beans cook.
Aromatics are optional at the beginning. Onion, garlic, bay, or a dried chile can perfume the pot, but a neutral batch is easier to carry into different meals. Salt and acidity can be adjusted once the beans are tender.
Cook for the week you actually have
When beans are tender, drain only what you need and cool the rest promptly in shallow containers. Label the container with the date and use the FoodKeeper guidance for the specific food and storage situation rather than relying on a universal shelf-life rule.
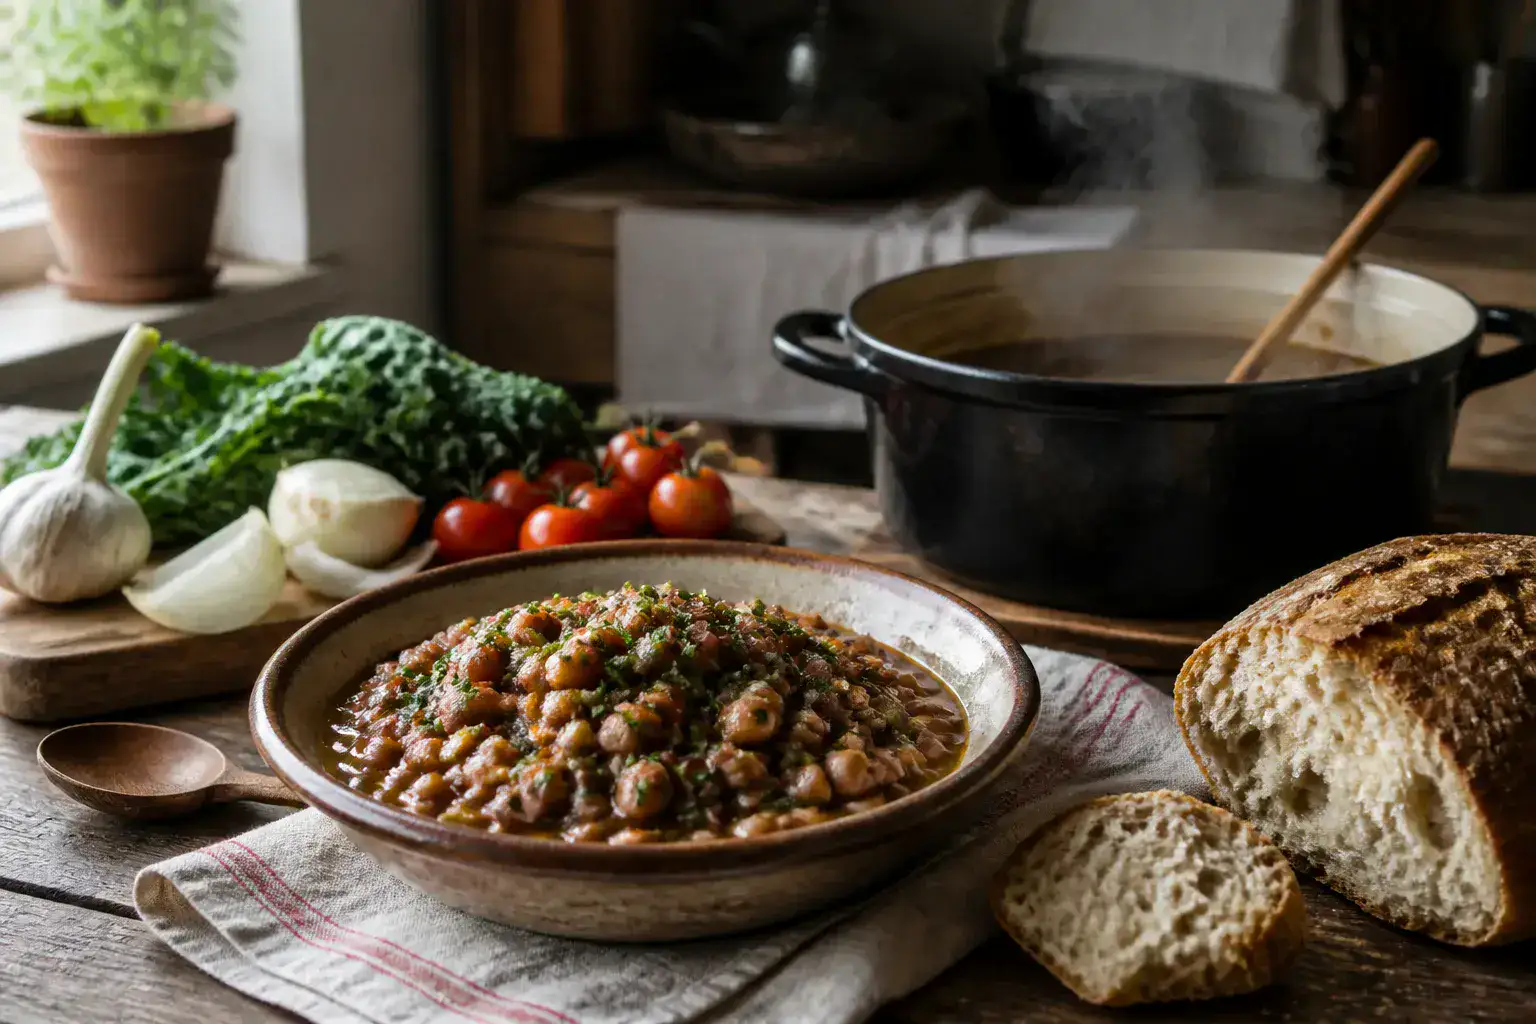
One batch can become a warm bowl with greens, a rough mash on toast, or the body of a tomato soup. The point is not meal-prep perfection. It is making a modest ingredient available when the market vegetables need a companion.
Let the season do the changing
In spring, fold beans through peas and herbs. In summer, spoon them under tomatoes and peppers. In autumn, pair them with squash and bitter greens. A pantry staple becomes seasonal when the fresh part of the plate changes around it.
USDA MyPlate treats beans, peas, and lentils as a distinct vegetable subgroup while they also provide protein. That is useful food literacy, not a reason to make a health promise.
Choose the soak that fits the day
Sort dried beans before cooking and remove stones or damaged beans, then rinse them. A refrigerator soak can move the work to the night before. A quick-soak method brings beans and water to a boil, rests them off the heat, and then drains them before cooking. USDA WIC guidance describes both approaches and advises following the package for the variety in hand.
That last point matters because beans do not share one clock. Age, size, variety, water, and storage history all affect tenderness. Keep enough water in the pot, taste more than one bean, and continue until the center is fully tender. Do not use a slow cooker to rehydrate raw kidney beans; use properly cooked or canned beans for a slow-cooker meal.
Salt can be part of the cooking liquid or the finish, depending on the method you trust. Strong acids such as tomato or vinegar are easier to judge once the beans are nearly tender. The aim is not a rule for every pot, but a dependable sequence you can repeat.
Make the cooking liquid earn its place
Bean liquid carries starch, seasoning, and body. Save enough to loosen a mash, thicken a soup, or coat greens. If the liquid tastes muddy or too salty, drain it and start the next dish with broth or water. Keeping it is a flavor decision, not a requirement.
Divide a batch while it is still neutral. One portion can take rosemary and greens, another cumin and roasted peppers, and another tomato and pasta. Cool portions promptly in shallow containers, mark the date, and consult FoodKeeper for the storage situation rather than stretching a remembered rule.
For a no-soak weeknight, canned beans are a sound tool. Drain or rinse them when the recipe calls for it, then spend the saved time on the fresh crop. Farm-to-table cooking is strongest when pantry and field support each other.